Sunday, March 29, 2020

Pandemic Course - this course ... online


if you have read this message

In the subject line write your - name - block - course

Answer two questions:

1. Are you well enough to do this course?
2. Do you have the technology to do this course online?

Blue-Line-at-500 - Del Mar Veterinary Hospital | Del Mar ...

At this point, you should be wrapping up the Minecraft assignment.

1.  a slideshow showing the outside construction of your project
2.  a slideshow showing the inside construction of your project
3.  a 20 second video showing the whole project.

I am going to throw out the animated gif of the whole group contribution.

The instructions for the slideshow and video are at the bottom of the previous post.

If you do NOT have Windows Movie Maker here is a link to the file.

--> Choose the programs you want to install

 You only need "Photo Gallery and Movie Maker"


Party Line Sticker by candice for iOS & Android | GIPHY

I will give you until the end of the week - this is a lot of time - 
I also see some students are already done.
If so go to your Microsoft 365 and find TEAMS - we will attempt to communicate using it.

Next Monday we will begin the CODE section of the course.


Monday, March 2, 2020

Minecraft - slideshows - video - Animate GIF

Collaboration in Minecraft

This is a collaborative project
you are required to collaborate.

Colaborate

using

Minecraft


  • Take your OWN screenshots (F1 hides the HUD)
WINDOW KEY - ALT - PRINTSCREEN
  • create and post your OWN slideshows with captions
  • no dark or rainy screen shots
  • no screenshots without significant changes
  1. Minimum of 2 slideshows each with a minimum of 20 screenshots - each with a caption

  • slide show 1 - outside construction (max 45)
  • slide show 2 - inside construction (max 45)


  • walk-through video - 20 seconds in length (+-1)...with title, captions and your name
  • 100 slide ANIMATED GIF - equal contribution from all members of the group. (Title, captions, your NAMES)

Choose one of:
The Antilia House


Marina Bay Sands


Tropical Island


Aldergrove Community Center


What to do with your screenshots


POWERPOINT suggestion
 -organized your images into separate folders and rename/renumber them
 Go to Desktop PowerPoint  – choose Insert-Photo Album
and choose the folder - then all the images – 1 per page – fit to slide
and make changes as necessary - 
VERY IMPORTANT
add a caption per slide (insert wordart)
make them large and readable
(Describe what is new about each slide)


How to Embed slide shows on your blog using Google Slides
go to Google Slides
https://docs.google.com/presentation/u/0/

or open CHROME type in SLIDE.NEW

 - choose File- import slides - find the powerpoint file you saved.
Choose file - Publish to the Web
Choose the EMBED tab
Slide size : small  Auto-advance Slides: every 2 seconds
CHECK BOX both start and restart
copy the code - paste into HTML section of blog post


Video WALK through
use a video to show the whole outside of your project from all angles and insides as well - keep it at 20 seconds
WINDOWS 10 has a built in video capture app
WINDOW KEY - G to open the game bar
Start recording - then stop recording - find the file in the VIDEO - CAPTURES folder
if the file is TOO large - load into Movie Maker then save movie for email
-Edit the video - add a title - add captions - add your name

HELPFUL  IDEAS
Stop the weather and stop the day-night cycle
/gamerule doDaylightCycle false also /time set day
/gamerule doWeatherCycle false also /toggledownfall
.

Tuesday, February 25, 2020

PHOTOSHOP - Morphed and textured - extension project

PHOTOSHOP - Morphed and textured
- extension project -


Pick Real world items:

Change all the parts around - Morphing

  •  you may pick more than one of each
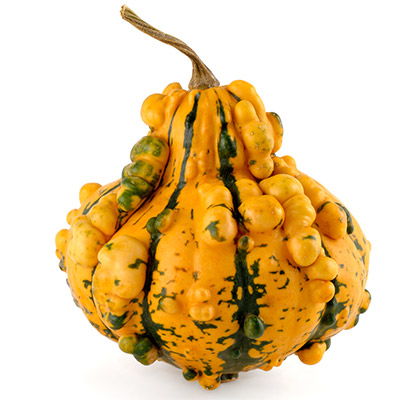
a vegetable
ex: gourd
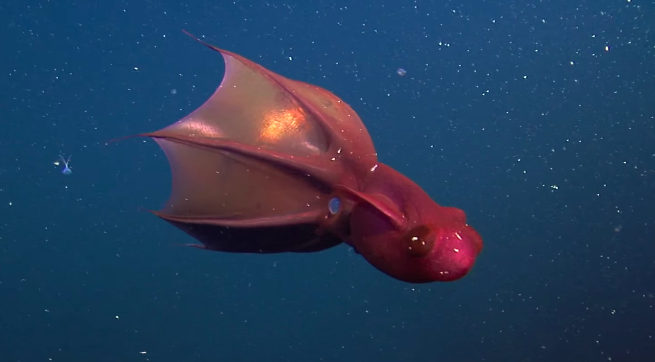
an underwater creature 
ex: vampire squid
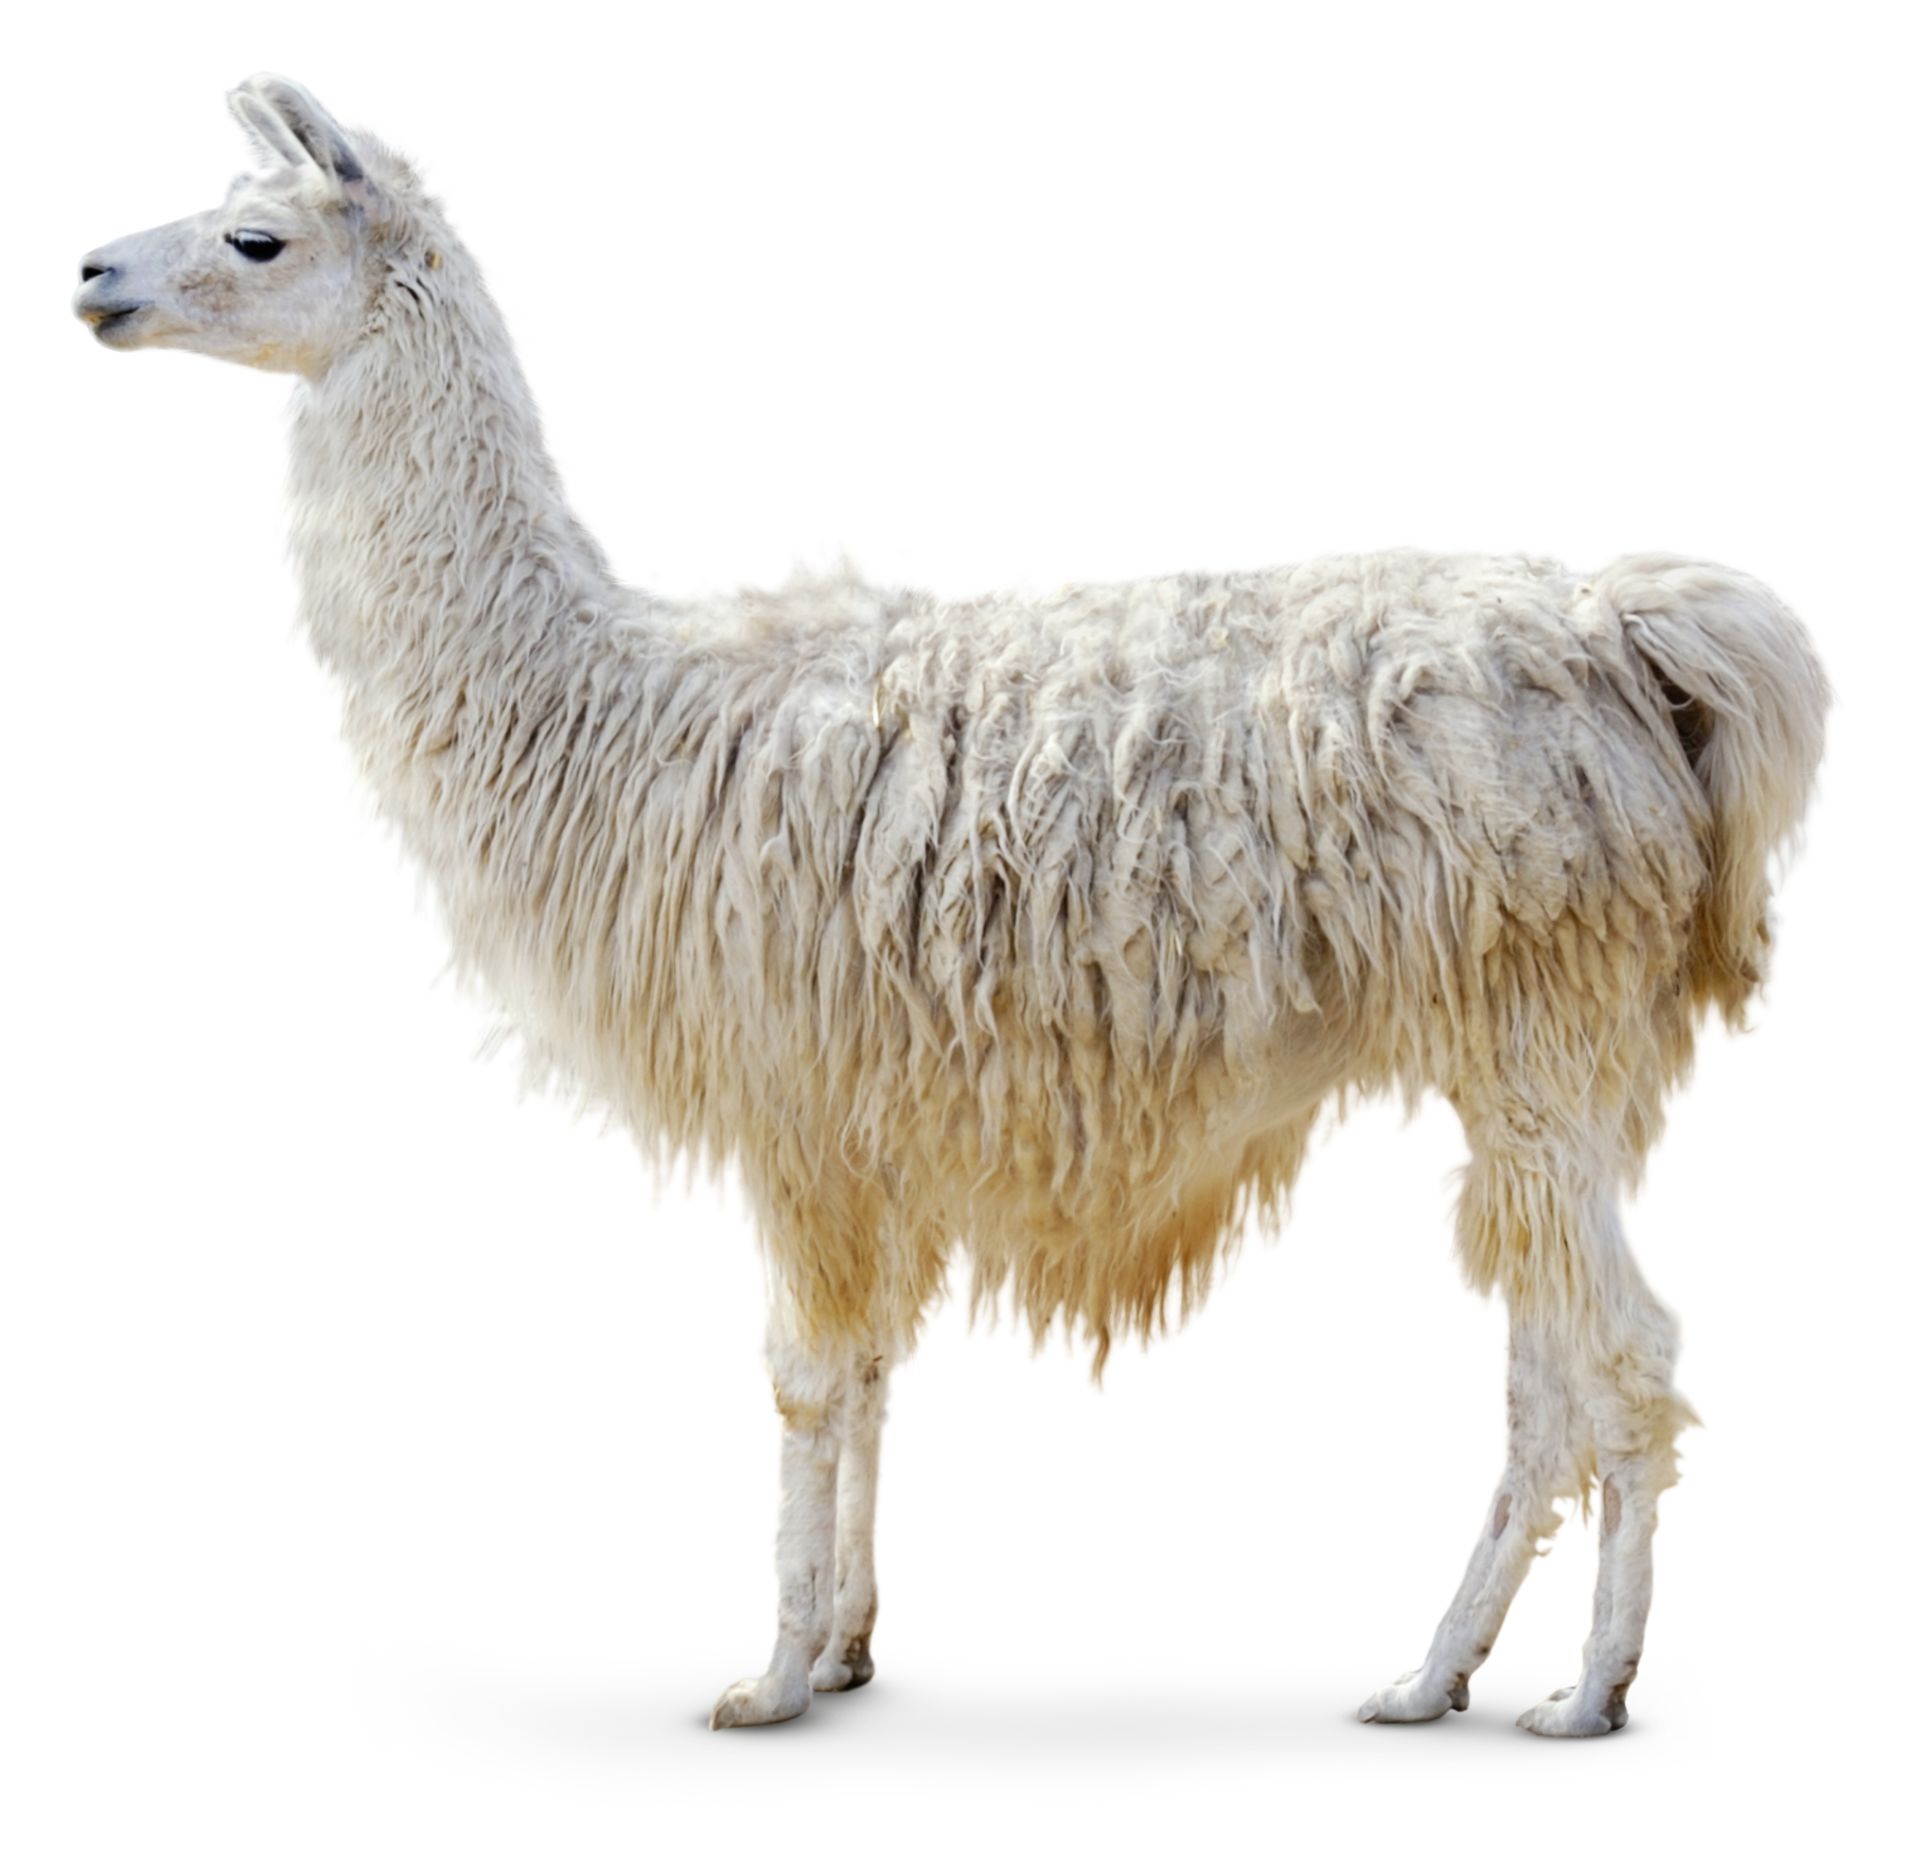
a south American animal 
ex: llama
Image result for gourd
Image result for llama
Pick Textures
USE THESE on the creature you create above
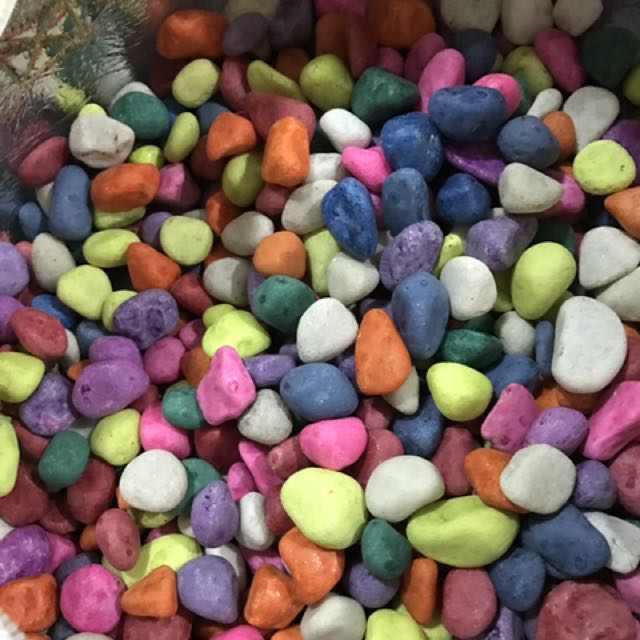
colourful pebbles
a durian fruit
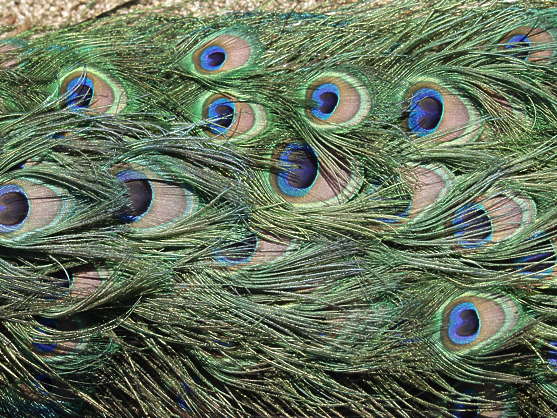
peacock
Image result for colourful pebbles
Image result for spiky fruit
Image result for animal texture


As usual
  • add your description 
  • and your layers
  • and your URL


Tuesday, February 18, 2020

Photoshop - Animal Skin Swap (x2 plus 1)


Photoshop - Animal Skin Swap

Rhino and Leopard


Photoshop - Animal Skin Swap


Swap Animal Skin using Photoshop 
Part 1


Swap Animal Skin using Photoshop 
Part 2


Swap Animal Skin using Photoshop 
Part 3


Swap Animal Skin using Photoshop 
Part 4


Part 1: Select a Rhino and a Leopard
that basically have the same posture.


Part 2: Open the Rhino -mask it out
then "place embedded" the leopard.
-Mask it out
Use opacity on the leopard to
approximately size the two animals equally.
Try to match body parts.

Part 3: Choose Filter -Liquify when on the Leopard layer.
Make sure to checkbox Show Backdrop. Then USE: drop-down to Rhino.
Adjust the opacity to see both ~50%.
Warp the leopard skin to match the rhino as best you can.
Parts that stick out too much will be removed later. Click OK  - it will look odd.
Part 4: CTRL click the Rhino MASK-
then paint -black- on the Leopard MASK.
 - Choose SHIIFT-ALT-I then paint
-White- around the Leopard to remove
erroneous parts.
CTRL-D to unhighlight things...
On the Leaopard layer
- choose blending option - 'multiply'
- Add a new Adjustment Layer - Brightness/contrast
- adjust as necessary
 to make it all look great.
If any parts of the RHINO are missing leopard skin...
CTRL the Rhino Mask -
Create a new clone layer at the very top -
 clone stamp some leopard skin spots onto the forgotten parts.
Fix the horns - if necessary

BACKGROUND
Highlight layers - duplicate - merge
hide originals - select-mask -
get new background -
alter new background with
and adjustment layer
add blog-address - warp-emboss


  • Do AGAIN - Fruit to Car or Animal to Fruit or Animal to Car

  • Do YOUR OWN TUTORIAL


Monday, February 10, 2020

Photoshop Morphing - YOUR OWN tutorial


Photoshop Morphing - YOUR OWN tutorial


Use the tutorial you posted
If it is the same as the Croc-Frog - go find a different tutorial

  1. Do the tutorial exactly as they describe
  2. Add more to the tutorial - just do not skip any
  3. ALWAYS - change the final background
  4. ALWAYS - add your watermark
  5. Display the original images
  6. Display what the final product should look like (their version)
  7. Display your version of the final product
  8. Display your LAYERS
  9. Write a tutorial  - how you created it


<div style="background-image: url('https://dl.dropbox.com/s/hlswz8war88nlx5/pencils.jpg');">

</div>

Friday, February 7, 2020

Photoshop Morphing - CassoGirafurtle

Photoshop Morphing
CassoGirafurtle

Do these animals but...
USE your own images
Make sure to show the original images

CassoGirafurtle
cassowary
giraffe
matamata turtle
Make sure your layers show:
  • Masking
  • Clone tool
  • Dodge
  • Burn
  • adjustment layer
  • Change final background
  • your watermark
  • PLUS
  • filters, layer styles
Write a tutorial:
  • explain how you created this monster. 
  • Attention to details.


Thursday, February 6, 2020

Photoshop Morphing - CrocoFrog

Photoshop Morphing - CrocoFrog


1: Do as your are told in the tutorial - learn something new 


  • make sure to add your BLOG ADDRESS with the text tool 
 (watermark it as your own - also worth marks) 
  • EXPORT as a PNG file and post to your blog 
  • special attention to NAMING LAYERS
  • change the background
  • post screenshot of your LAYERS 
  • Explain how you made it


CrocoFrog
Layers - NOTE - mask layers - new background - hidden originals - watermark
original frog
original crocodile
  •  Explain - in detail - how it was made
  • I started with a layer mask on the croc to cut ot the background - refined it with the paint brush (using black)
  • I then cloned away the eye and added the frog neck to the croc
  • Create an adjustment layer to colour balance the croc head to match the frog body - but erase away the greened mouth and teeth - on the adjustable layer
  • bright areas of the frog with the DODGE tool
  • burn in extra shadow on the frog layer with the BURN tool
  • I duplicated all 3 layers - hid the originals - then merged the copies (merge visible) - rename crocofrog
  • Select the crocofrog - selection tool then mask it
  • add a new background layer under the crocofrog layer - ctrl-click new layer button
  • insert or copy paste in the new background layer
  • adjusted the crocofrog size as necessary
  • added watermark


noSketchUp Lesson 6 - LOGO

noSketchUp Lesson 6 - LOGO - no use of sketchup!- In this exercise you need to: 1. (PNG) Draw a Design -or- Create a LOGO -or- m...