- no use of sketchup!-
In this exercise you need to:
1. (PNG) Draw a Design -or- Create a LOGO -or- make University of ...
USE PHOTOSHOP of some ONLINE drawing tool that allows TRANSPARENCY.
GET parts off the internet and create a design that represents your current situation of learning ONLINE:
examples: - make up your own of course
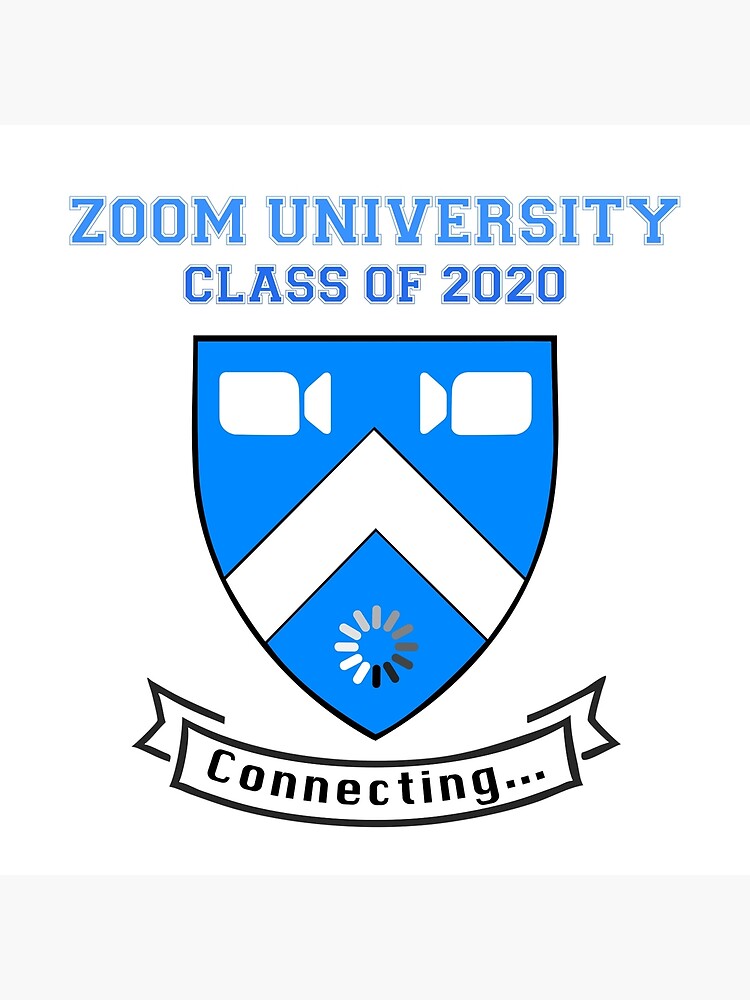

What ever you choose to create
- ALL parts MUST be CONNECTED to each other.
With a tool that allows for transparency.
Remove the inner parts - leaving only edges
SAVE as a PNG file.
POST
2. (SVG) - now we need to turn this IMAGE into a vector based object - this will create the edges we need.
Online SVG image converter
https://image.online-convert.com/convert-to-svg
Choose the file - click convert - (IT MAY AUTO DOWNLOAD)
3. (STL) - The 3D-Printer uses STL files.
With TinkerCAD (online) we can convert.
https://www.tinkercad.com/dashboard
- create a new design
- import SVG file
- scale until BOTH dimensions are less than 1000 (if necessary)
- now make sure the object fits the stage
- look at it from the FRONT view - make sure it has some height.
- EXPORT - choose STL
UPLOAD to TEAMS
-FINAL LESSON-


No comments:
Post a Comment