- extension project -
Pick Real world items:
Change all the parts around - Morphing
|
|||||
|---|---|---|---|---|---|
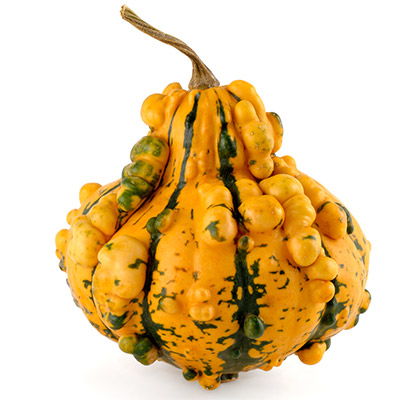
a vegetable
ex: gourd
|
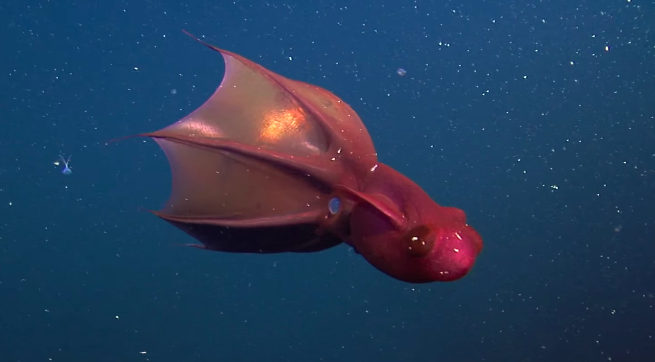
an underwater creature ex: vampire squid |
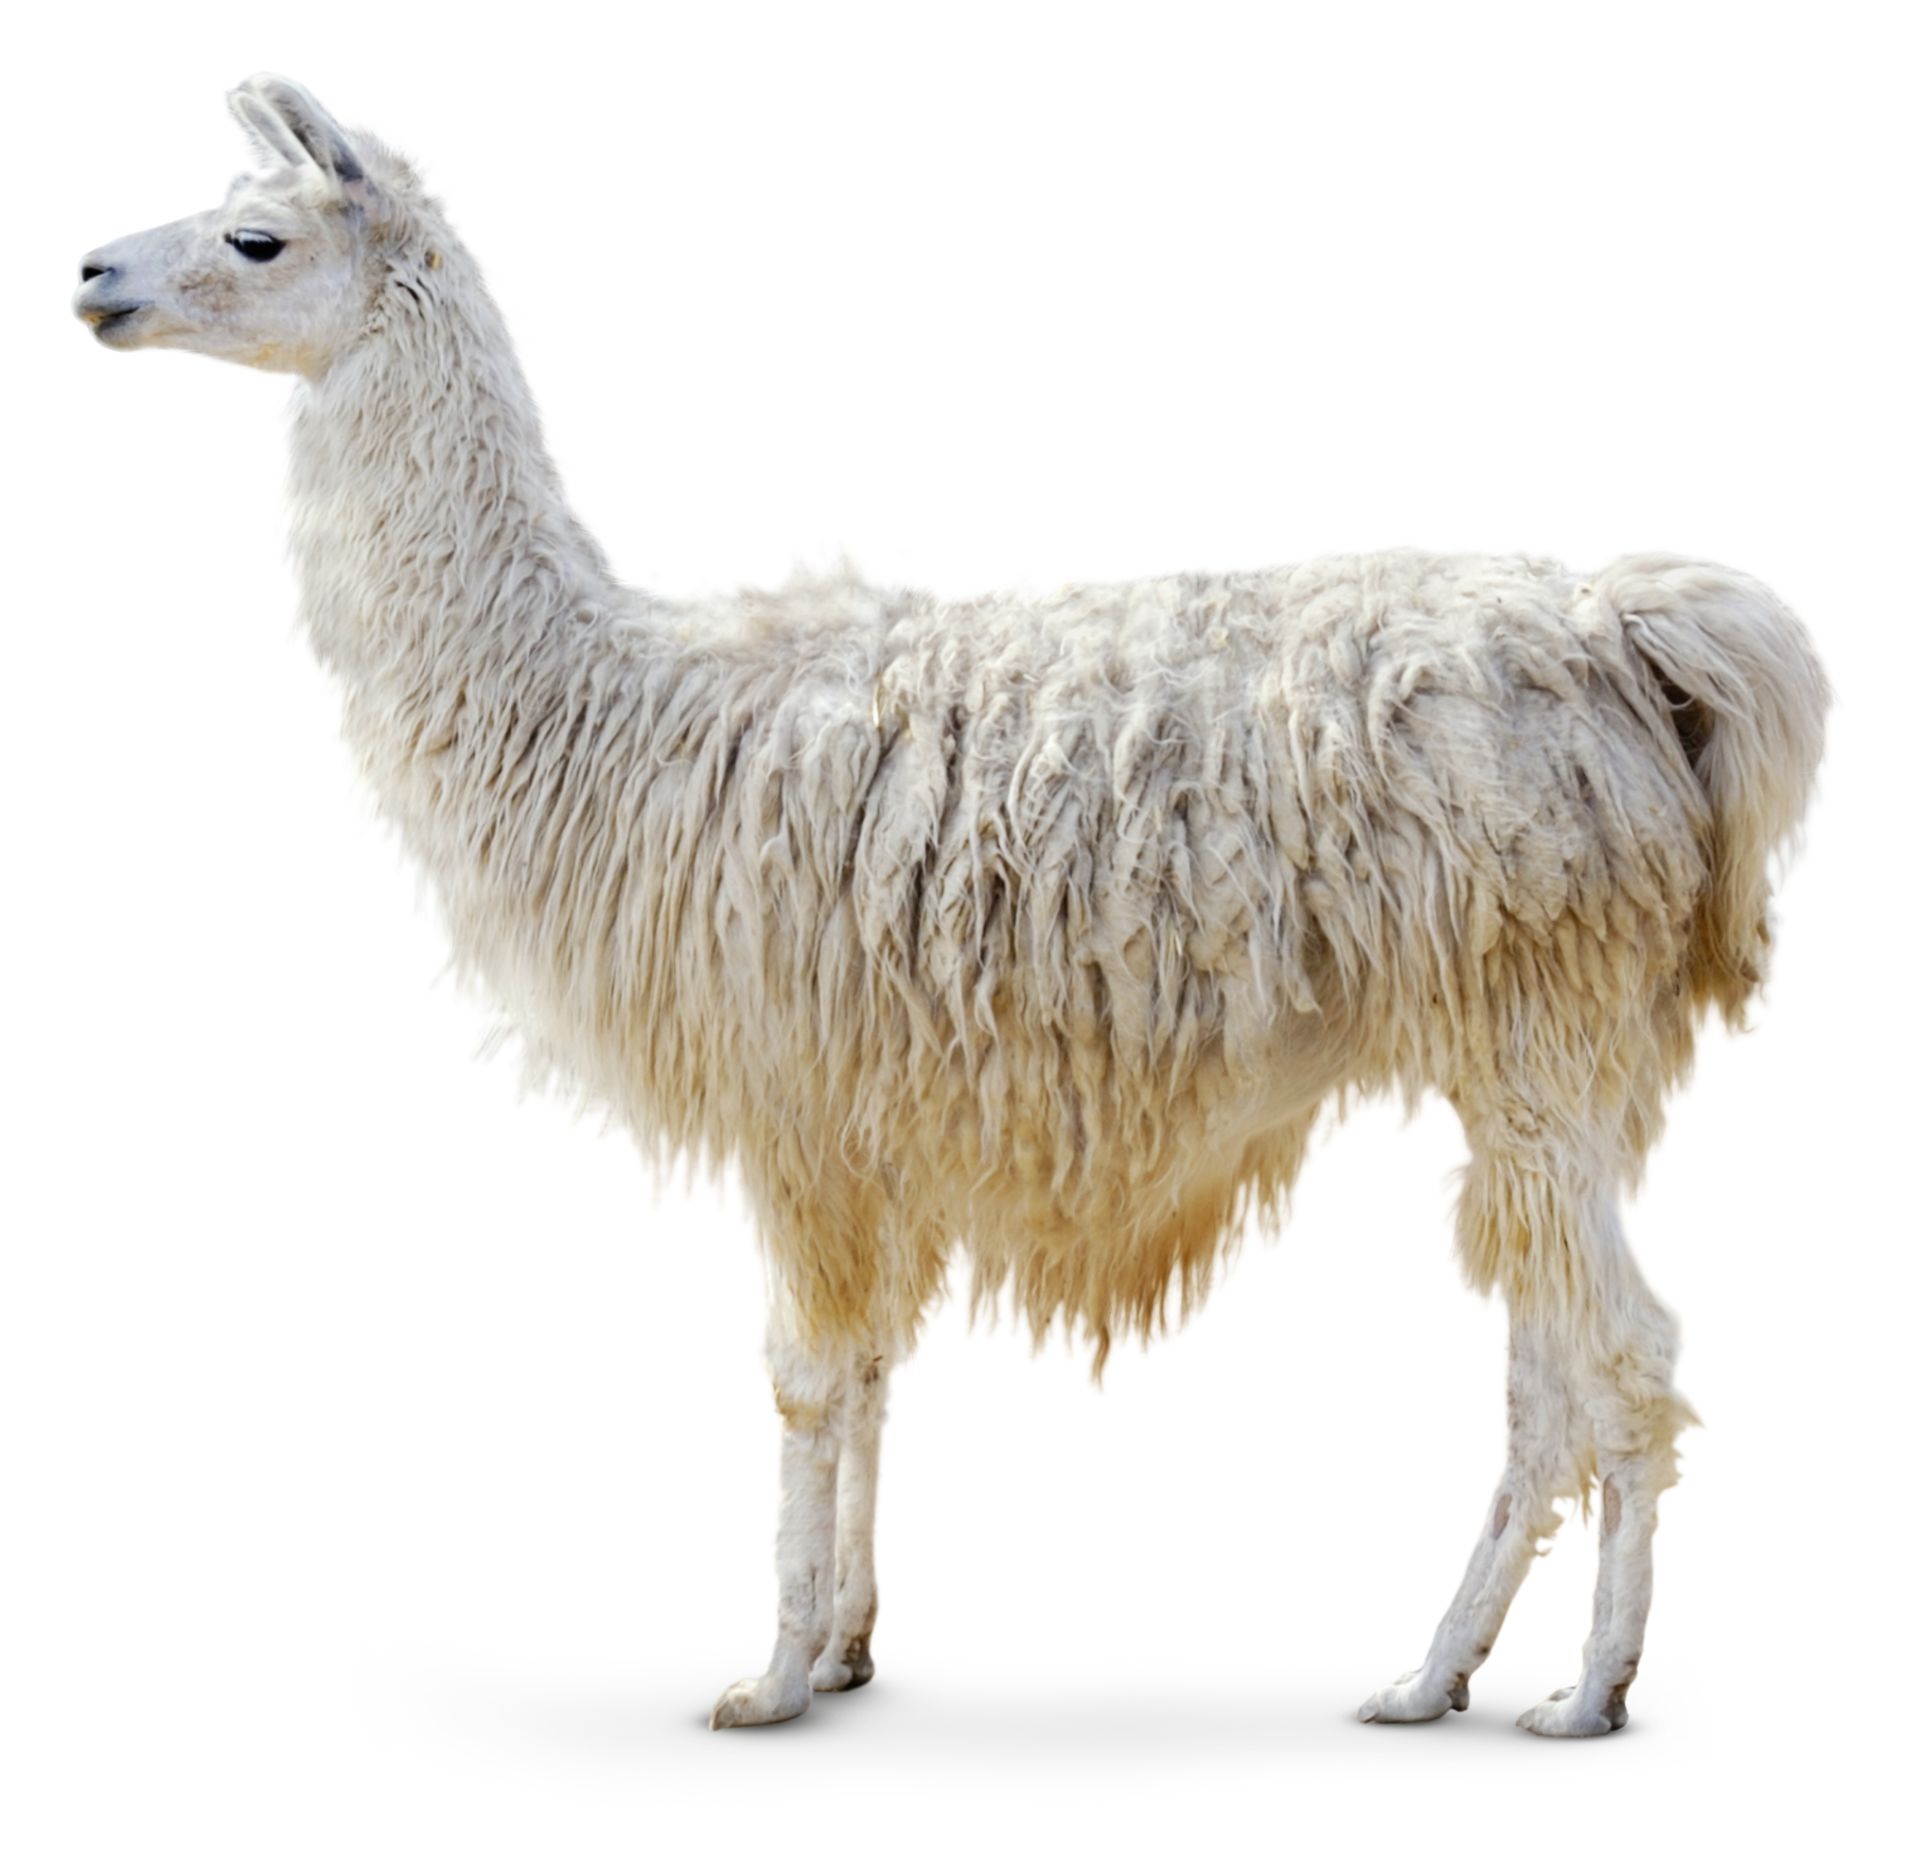
a south American animal
ex: llama
|
|||
 |
 |
 |
|||
| Pick Textures USE THESE on the creature you create above |
|||||
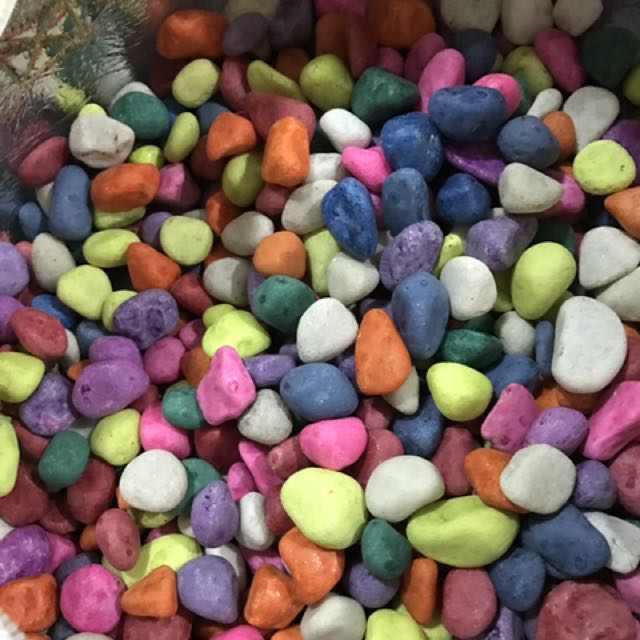
colourful pebbles
|
a durian fruit |
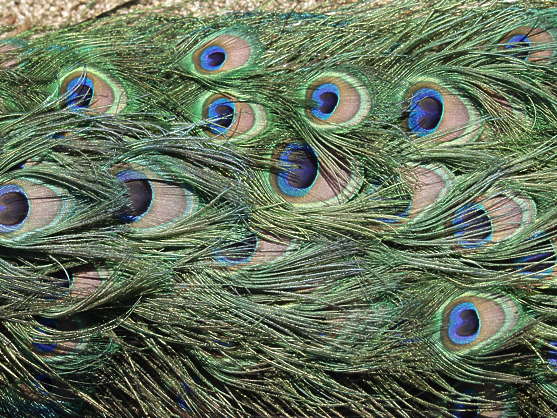
peacock
|
|||
 |
 |
 |
|||
As usual
- add your description
- and your layers
- and your URL