Friday, June 5, 2020

noSketchUp Lesson 6 - LOGO

noSketchUp Lesson 6 - LOGO

- no use of sketchup!-


In this exercise you need to:

1. (PNG) Draw a Design -or- Create a LOGO -or- make University of ...

USE PHOTOSHOP of some ONLINE drawing tool that allows TRANSPARENCY.

GET parts off the internet and create a design that represents your current situation of learning ONLINE:

 examples: - make up your own of course

Zoom University Class of 2020 Shield" Greeting Card by ...      Microsoft Teams University - Class of 2020" Poster by brainthought ...

What ever you choose to create 

  • ALL parts MUST be CONNECTED to each other.


With a tool that allows for transparency.
Remove the inner parts - leaving only edges
SAVE as a PNG file.

POST

2. (SVG) - now we need to turn this IMAGE into a vector based object - this will create the edges we need.
Online SVG image converter
https://image.online-convert.com/convert-to-svg

Choose the file - click convert - (IT MAY AUTO DOWNLOAD)

3. (STL) - The 3D-Printer uses STL files.  
With TinkerCAD (online) we can convert.
https://www.tinkercad.com/dashboard


  • create a new design
  • import SVG file
  • scale until BOTH dimensions are less than 1000 (if necessary)
  • now make sure the object fits the stage
  • look at it from the FRONT view - make sure it has some height.
  • EXPORT - choose STL

UPLOAD to TEAMS


-FINAL LESSON-


Game Journalism Day 3 - Walk Through

Game Journalism Day 3 - Walk Through


We will end the course here.  There were other items I wanted to explore in Game Design but...


Create a walk through SLIDE SHOW.  This will show all the steps needed to terminate the SEEKER.

Make sure to describe each slide and add your blog address to all images.


BASICALLY - show me how to play the game...in a slideshow.


--- the end ---

Monday, June 1, 2020

Game Journalism Day 2 - The Seeker

Game Journalism Day 2 - The Seeker

What did you do today?


  • image of seeker
  • image of a town from the air
  • image of your airship


What did you learn?


  • tips and tricks for your readers
for example - what is the quick way to gather all items from something you have opened?

answer the following with an image
  • where do you get a stone axe from?
  • what items can you eat? 
  1. image of CAN 
  2. image of COOKED can
  3. image of a COOKED FISH
  4. image of a LIVE fish
  5. image of a mushroom
  6. images of cactus fruit
    How does the COOKIE stop the Seeker?


    What will you need to do next?

    Wednesday, May 27, 2020

    Game Journalism Day 1 - The Basics

    Game Journalism 
    The Basics


    What TYPE of game is this?


    Explain what you see and how to play the game.


    post SIX- screenshots 

    • 3 of items you collected - with captions
    • 3 of the scenery - with captions
    always
    • add your blog address - in the image
    • add a caption explaining what each item is - under the image
    What is your plan for the next hour?

    Monday, May 18, 2020

    Sketchup -Lesson 4 -3D Design


    Sketchup Tutorial LESSON 4: 

    Simple 3d Design Example for 3D Printing


    https://www.youtube.com/watch?v=0nJYxVfedhY&t=114s

    NOTE - HE IS NOW WORKING IN millimetres

    1. Create the object - make sure the holes are 0.75 mm larger ( and deeper) so it will it fit into itself - make sure your name is on the side - deleted the PERSON
    POST images of this to your blog - upload the STL to TEAMS


    Two of the same model printed
    Lined up the pegs and holes

    FITS together like a glove


    2Create your own version of this object -50mm x50mm- must fit into itself!
    At least 4 pegs and 4 holes - round - rectangle - square - polygon
    - make sure your name is on the side - deleted the PERSON
    POST images of this to your blog - upload the STL to TEAMS 


    Thursday, May 14, 2020

    LESSON 3 Follow-Up - Printing the CUBE

    LESSON 3 Follow-Up - Printing the CUBE


    • Just have a look
    • NO WORK TO DO
    • Until LESSON 4


    Wednesday, May 13, 2020

    Sketchup -LESSON 3 -3D Printer


    Sketchup -LESSON 3 --3D Printer


    • DO not delete the person!

    Sketchup Tutorial LESSON 3: 

    Printing Sketchup Designs on a 3D Printer


    • Add your name to one side - use the SCALE tool
    • add a smiley face to the other
    • colour everything
    • NOTHING  on the bottom
    • POST enough images to I can see all sides of your cube.
    • EXPORT STL is built into the online VERSION of SKETCHUP and upload to TEAMS - look for this assignment.
    NOTE: I will 3D print the first person's to post their STL in TEAMS. I will measure it and post the tolerances.  This will help the next assignment!
    SketchUp model
    3D Print IT!
    in the 3D printer

    Thursday, May 7, 2020

    Sketchup -LESSON 2 -Rubic's Cube

    Chrome may crash "Aw Snap" - if so switch to Firefox


    • do not delete the person!
    • always add your name

    Sketchup Tutorial LESSON 2: 

    Simple Introduction to Sketchup 3D Objects


    • just move the person out of the way - do not delete
    • near the end of the tutorial he builds a column...
    • add 3 more columns -one each corner -paint them with marble texture
    • paint the 3x3x3 cubes like a mixed up rubic's cube - only 9 of each colour!
    • Red, Green, Yellow, Blue, White, Orange
    • add your name


    • build a 4x4 Rubic's Cube

    background images
    <div style="background-image: url('https://i.redd.it/0s0r9kgrrcuz.gif');">


    </div>

    Monday, May 4, 2020

    Sketchup -LESSON 1 -Tiles

    Sketchup - The idea was to make things 3D printable - We will still look in that direction but ...


    You may want the DESKTOP version - this is SketchUp Make 2017

    Notes from the following VIDEO: He shows you how to download - you do not need to. I worked from the web version. It works well. Chrome may crash "Aw Snap" - if so switch to Firefox. We will work in feet and inches just like he does. He then goes on about tool bars - in the online line version you get what they give you - so you may have to hunt a little to find what he using.
    He also talks about how the program works - listen to it. LEARN: Select first - choose tool - do the work. LEARN: Think about position and dimension. Do not delete the person! (Yet). Just move him or her out of the way.

    Sketchup Tutorial LESSON 1: 

    Simple Introduction to Sketchup for Beginners


    NOTE! the ctrl switches the rectangle tool between center focus and corner focus


    3 projects you can do because of Tutorial Lesson 1:

    1. Do what he asks at the end of his video:
    It will look like this 
    - add your own colour and your name 
    ...you will notice Helen is in the image to.


    2 Create - this tile pattern
    in an area 12' x 12'
    make sure your name is in the design
    paint in some texture or colours
    post [use snipping tool] the image with the 'person' in it

    Larger tiles are 12" x 12" or 6" x 6"

    3 .. and this tile pattern

    12" x 24" tiles


    Monday, April 13, 2020

    10 hours of CODE


    LEARN to CODE
    10 hours of CODING 
     Choose an online programming site 
     Recommendations
    1.
    https://www.khanacademy.org
    Intro to JS: Drawing & Animation!
    I quite like this one. Work until you get past "Text and Strings".
    2.
    https://www.codecademy.com
    Introduction to HTML
    Some of this code can be used on your blog!
    3.
    http://drawingincode.com/
    The Basic Cityscape
    Flappy Square
    looks a lot like Actionscript used by Adobe Animate- I like it.


    How will you be marked?
    Each hour - for 10 hours- you will make a BLOG post of what you did that hour. This will include screen shots. You will also write about what you learnt that hour. Give examples. e.g. How to do something, a new piece of code, how difficult something was. Then you will indicate what you will be doing the next hour. Add a link to the exercise. CODE for about 45 minutes then finish up by posting for the last 15 minutes. It is best to code and blog at the same time. This way you can capture images, gifs and thoughts as you work.

    Use these titles:
    What I DID this hour 
    What specific things I LEARNT 
    What I will do next hour
    ...each hour is a separate post...

    example - html
    example post- html

    Draw and animation example post


    opaque background in the table!  uses RGB colors
    the .8 is the opaqueness value between 0 and 1-where 0 is invisible  and 1 is a solid color
    <table border="1" bordercolor="yellow" style="background-color: rgba(111, 144, 211, .8);" >
    background-image - get link to image off the internet
    <div style="background-image: url('https://images.pexels.com/photos/951240/pexels-photo-951240.jpeg');">
    </div>


    Thursday, April 9, 2020

    Tuesday, April 7, 2020

    Tuesday - still waiting

    Tuesday - still waiting

    As it stands 
    6 people have joined Microsoft Team for Block B and 
    4 for Block D


    Please check your email and take a moment to join.  Should you not join then at least look here for instructions and I will look to your blog for results...just like before.

    On Monday, we will most likely start coding.  I would like to use TEAMS for any sort of communication you may require regarding the assignments.  
    ZOOM is not FOIPPA compliant so you are not allowed to use it.

    Monday, April 6, 2020

    NOT YET

    NOT YET


    As it stands we are not authorized to hand out work.

    So, for now, try logging onto your Office365 account using your langleyschools.ca email address.

    from there choose TEAMS

    I will send out an email with the code required to get into the correct 'TEAM'.

    Once everyone is there I am thinking of doing something graphical.

    I realized no one has Photoshop so it may be with an online drawing tool...there are many.

    Sunday, March 29, 2020

    Pandemic Course - this course ... online


    if you have read this message

    In the subject line write your - name - block - course

    Answer two questions:

    1. Are you well enough to do this course?
    2. Do you have the technology to do this course online?

    Blue-Line-at-500 - Del Mar Veterinary Hospital | Del Mar ...

    At this point, you should be wrapping up the Minecraft assignment.

    1.  a slideshow showing the outside construction of your project
    2.  a slideshow showing the inside construction of your project
    3.  a 20 second video showing the whole project.

    I am going to throw out the animated gif of the whole group contribution.

    The instructions for the slideshow and video are at the bottom of the previous post.

    If you do NOT have Windows Movie Maker here is a link to the file.

    --> Choose the programs you want to install

     You only need "Photo Gallery and Movie Maker"


    Party Line Sticker by candice for iOS & Android | GIPHY

    I will give you until the end of the week - this is a lot of time - 
    I also see some students are already done.
    If so go to your Microsoft 365 and find TEAMS - we will attempt to communicate using it.

    Next Monday we will begin the CODE section of the course.


    Monday, March 2, 2020

    Minecraft - slideshows - video - Animate GIF

    Collaboration in Minecraft

    This is a collaborative project
    you are required to collaborate.

    Colaborate

    using

    Minecraft


    • Take your OWN screenshots (F1 hides the HUD)
    WINDOW KEY - ALT - PRINTSCREEN
    • create and post your OWN slideshows with captions
    • no dark or rainy screen shots
    • no screenshots without significant changes
    1. Minimum of 2 slideshows each with a minimum of 20 screenshots - each with a caption

    • slide show 1 - outside construction (max 45)
    • slide show 2 - inside construction (max 45)


    • walk-through video - 20 seconds in length (+-1)...with title, captions and your name
    • 100 slide ANIMATED GIF - equal contribution from all members of the group. (Title, captions, your NAMES)

    Choose one of:
    The Antilia House


    Marina Bay Sands


    Tropical Island


    Aldergrove Community Center


    What to do with your screenshots


    POWERPOINT suggestion
     -organized your images into separate folders and rename/renumber them
     Go to Desktop PowerPoint  – choose Insert-Photo Album
    and choose the folder - then all the images – 1 per page – fit to slide
    and make changes as necessary - 
    VERY IMPORTANT
    add a caption per slide (insert wordart)
    make them large and readable
    (Describe what is new about each slide)


    How to Embed slide shows on your blog using Google Slides
    go to Google Slides
    https://docs.google.com/presentation/u/0/

    or open CHROME type in SLIDE.NEW

     - choose File- import slides - find the powerpoint file you saved.
    Choose file - Publish to the Web
    Choose the EMBED tab
    Slide size : small  Auto-advance Slides: every 2 seconds
    CHECK BOX both start and restart
    copy the code - paste into HTML section of blog post


    Video WALK through
    use a video to show the whole outside of your project from all angles and insides as well - keep it at 20 seconds
    WINDOWS 10 has a built in video capture app
    WINDOW KEY - G to open the game bar
    Start recording - then stop recording - find the file in the VIDEO - CAPTURES folder
    if the file is TOO large - load into Movie Maker then save movie for email
    -Edit the video - add a title - add captions - add your name

    HELPFUL  IDEAS
    Stop the weather and stop the day-night cycle
    /gamerule doDaylightCycle false also /time set day
    /gamerule doWeatherCycle false also /toggledownfall
    .

    Tuesday, February 25, 2020

    PHOTOSHOP - Morphed and textured - extension project

    PHOTOSHOP - Morphed and textured
    - extension project -


    Pick Real world items:

    Change all the parts around - Morphing

    •  you may pick more than one of each
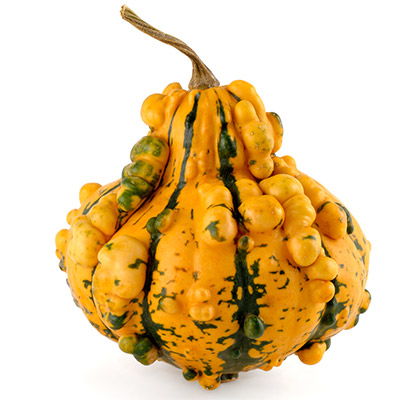
    a vegetable
    ex: gourd
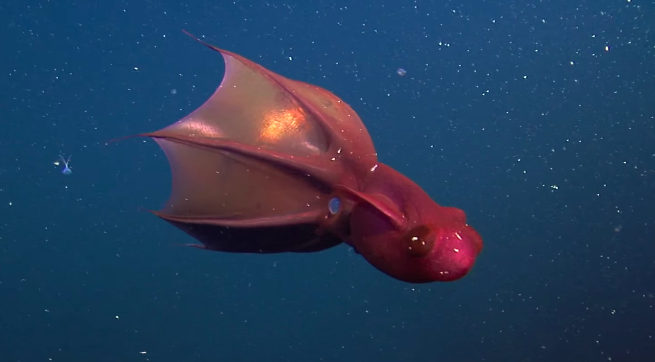
    an underwater creature 
    ex: vampire squid
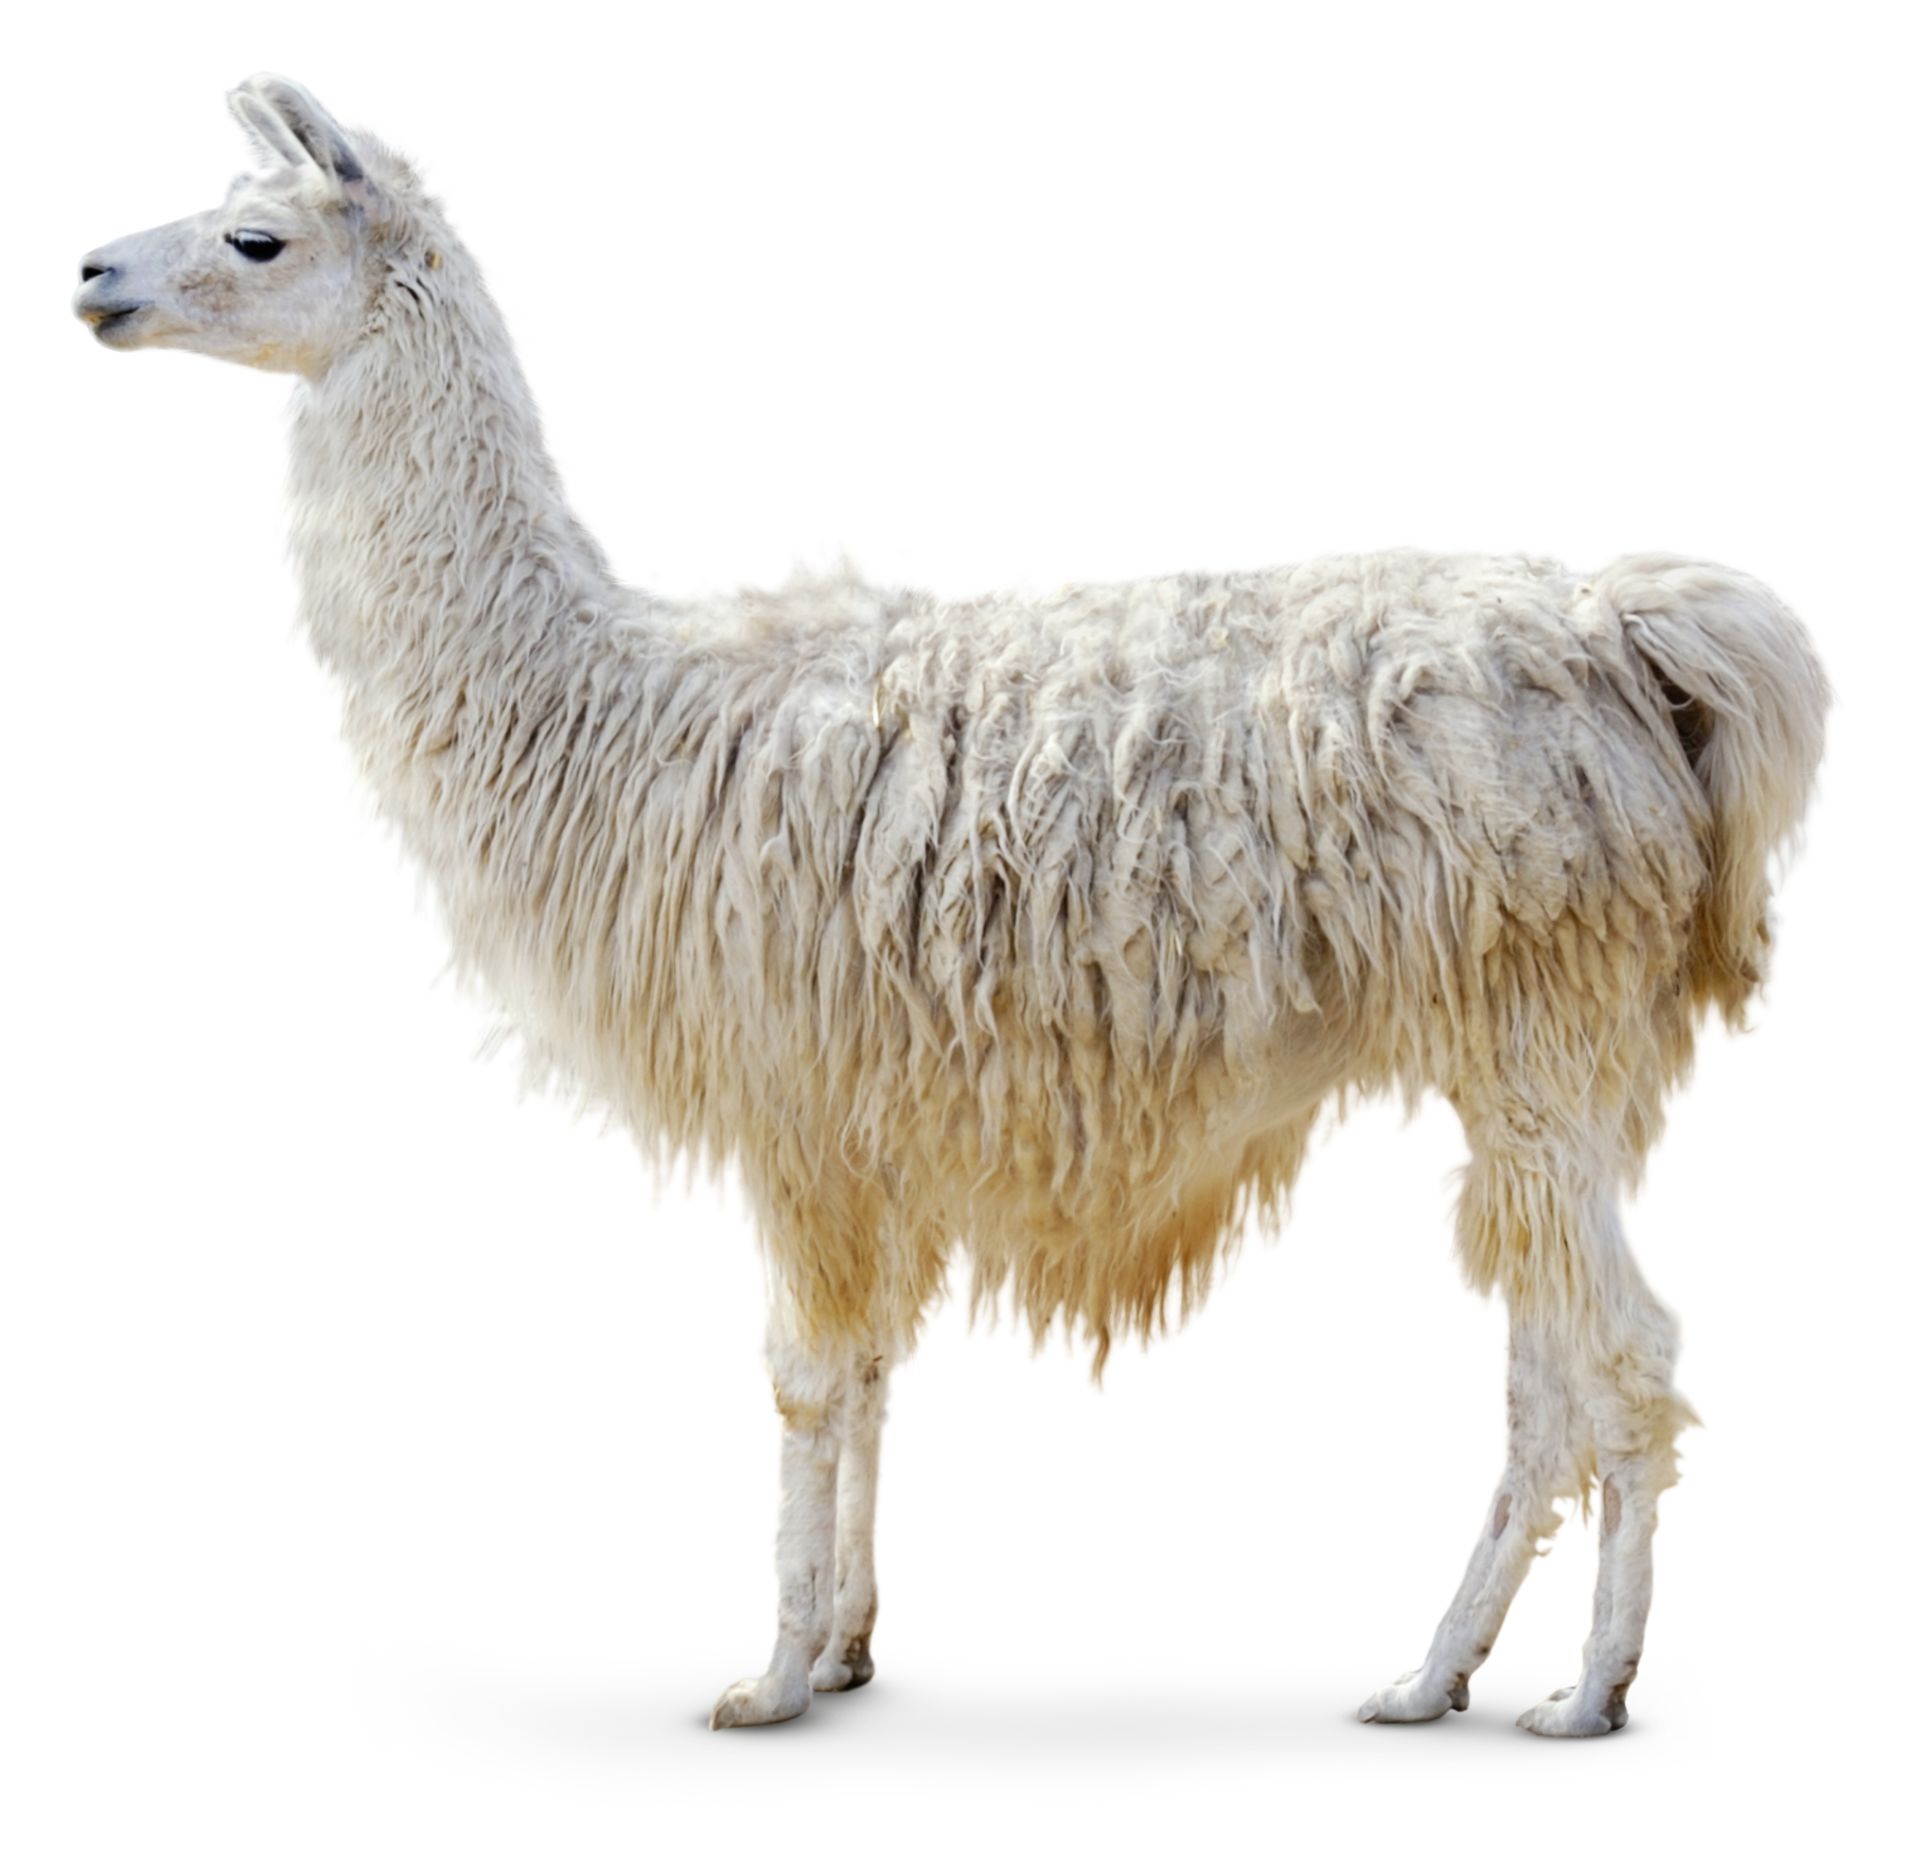
    a south American animal 
    ex: llama
    Image result for gourd
    Image result for llama
    Pick Textures
    USE THESE on the creature you create above
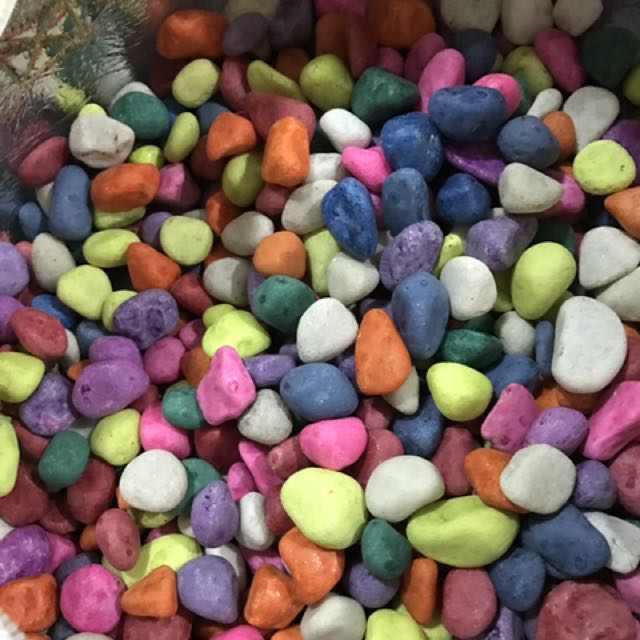
    colourful pebbles
    a durian fruit
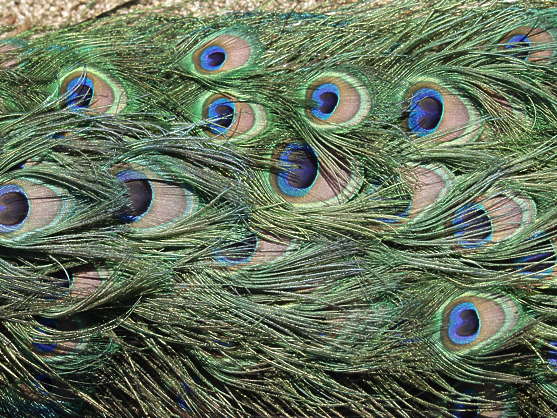
    peacock
    Image result for colourful pebbles
    Image result for spiky fruit
    Image result for animal texture


    As usual
    • add your description 
    • and your layers
    • and your URL


    Tuesday, February 18, 2020

    Photoshop - Animal Skin Swap (x2 plus 1)


    Photoshop - Animal Skin Swap

    Rhino and Leopard


    Photoshop - Animal Skin Swap


    Swap Animal Skin using Photoshop 
    Part 1


    Swap Animal Skin using Photoshop 
    Part 2


    Swap Animal Skin using Photoshop 
    Part 3


    Swap Animal Skin using Photoshop 
    Part 4


    Part 1: Select a Rhino and a Leopard
    that basically have the same posture.


    Part 2: Open the Rhino -mask it out
    then "place embedded" the leopard.
    -Mask it out
    Use opacity on the leopard to
    approximately size the two animals equally.
    Try to match body parts.

    Part 3: Choose Filter -Liquify when on the Leopard layer.
    Make sure to checkbox Show Backdrop. Then USE: drop-down to Rhino.
    Adjust the opacity to see both ~50%.
    Warp the leopard skin to match the rhino as best you can.
    Parts that stick out too much will be removed later. Click OK  - it will look odd.
    Part 4: CTRL click the Rhino MASK-
    then paint -black- on the Leopard MASK.
     - Choose SHIIFT-ALT-I then paint
    -White- around the Leopard to remove
    erroneous parts.
    CTRL-D to unhighlight things...
    On the Leaopard layer
    - choose blending option - 'multiply'
    - Add a new Adjustment Layer - Brightness/contrast
    - adjust as necessary
     to make it all look great.
    If any parts of the RHINO are missing leopard skin...
    CTRL the Rhino Mask -
    Create a new clone layer at the very top -
     clone stamp some leopard skin spots onto the forgotten parts.
    Fix the horns - if necessary

    BACKGROUND
    Highlight layers - duplicate - merge
    hide originals - select-mask -
    get new background -
    alter new background with
    and adjustment layer
    add blog-address - warp-emboss


    • Do AGAIN - Fruit to Car or Animal to Fruit or Animal to Car

    • Do YOUR OWN TUTORIAL


    Monday, February 10, 2020

    Photoshop Morphing - YOUR OWN tutorial


    Photoshop Morphing - YOUR OWN tutorial


    Use the tutorial you posted
    If it is the same as the Croc-Frog - go find a different tutorial

    1. Do the tutorial exactly as they describe
    2. Add more to the tutorial - just do not skip any
    3. ALWAYS - change the final background
    4. ALWAYS - add your watermark
    5. Display the original images
    6. Display what the final product should look like (their version)
    7. Display your version of the final product
    8. Display your LAYERS
    9. Write a tutorial  - how you created it


    <div style="background-image: url('https://dl.dropbox.com/s/hlswz8war88nlx5/pencils.jpg');">

    </div>

    noSketchUp Lesson 6 - LOGO

    noSketchUp Lesson 6 - LOGO - no use of sketchup!- In this exercise you need to: 1. (PNG) Draw a Design -or- Create a LOGO -or- m...